One thing I love about having girls is that I get to dress them up! Only up until a certain age, I guess. Then they start having personalities and decide they want to pick their own outfits.
But before that point, their outfits can be so versatile! I can dress them up in dinosaur prints, Pokemon costumes, or frilly princess dresses and they don't care.
Well, maybe they do care, but they can't do anything about it!

I love being a mommy of two girls!
When we went to Disneyland in December 2016, it was our first time traveling with BB with just Hanson and me. We took vacations before that, but we always had other family members there to help us out.
Disneyland holds a special place in my heart, and so I decided I wanted to make BB a special princess outfit. Not just any princess, but Princess Nesbitt.
Hey Disney fans, do you remember Mrs. Nesbitt? It's actually Buzz Lightyear's alter ego in the first Toy Story movie!
Attempting to fly out the window, Buzz fell and broke his arm at Sid's house. He was then taken in by Sid's sister, Hannah, to join her tea party and was given the name, Mrs. Nesbitt.

I know Buzz Lightyear is not a girl, but honestly, who cares? My girl should be allowed to be whoever she wants to be whether it be a princess or a superhero.
Everyone who saw BB thought she looked adorable! She definitely stood out from the crowd. I can spot her from a mile away in a neon green tutu in case we lost her in the busy theme park!

I wish we had taken more photos of her in her outfit, but Hanson started feeling sick as soon as we got to Disneyland and I was actually pregnant and still in my first trimester at the time, so neither of us was at our best.
Nowadays, BB won't even put on her Buzz Lightyear hoodie without a fight... 😓
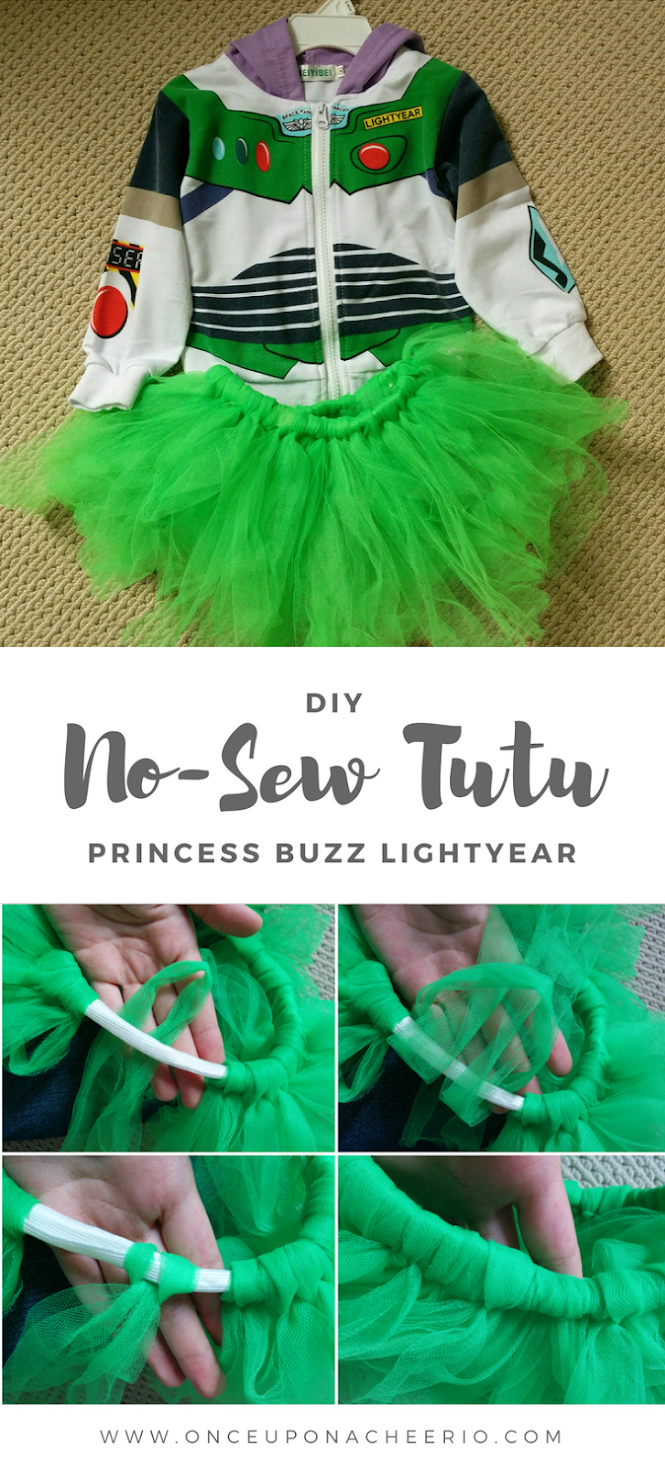
The costume consisted of a toddler-sized Buzz Lightyear hoodie I got from the Disney Store and a homemade/DIY no-sew tutu. Making the no-sew tutu is super easy. It makes for a great simple costume add-on!
What You Need / Materials:
Most of these items can be purchased through our affiliate links. Purchasing items through these links will not cost you any extra money. Please see our disclosure policy for more details.
- Roll(s) of tulle (6" wide)
- Elastic (0.5-1" wide)
- Scissors
- Measuring Tape
Now, I cheated a bit. We actually sewed our elastic for the waistband into a loop, but you could have easily tied a knot, and it would have functioned the same way. How much tulle you need depends on a few factors: (1) the length of your tutu skirt, (2) your child's waist size, and (3) how full/poofy you want your tutu to be.

1. Cutting the elastic
Cut the elastic to the length of your child's waist size and tie a knot to make a loop. Usually, I would suggest cutting an extra 1-2 inches off so that your child can wear it without it falling off.
But if you are using the completely no-sew method and tying it, then you would be losing that 1-2 inches anyway from the knot.
2. Cutting your tulle
I found that the easiest and quickest way to cut your tulle the same length is by wrapping it around a piece of cardboard and then cutting it on one side. Make sure you only cut on ONE side!
When cutting your tulle, make sure you cut a little bit extra because you're going to be using that extra length for tying it around the elastic band.
Here is the formula I used for cutting: Tutu length x 2 + 1" = Total Length for each strip of tulle
So for example, if I want to make my tutu 6" in length, the formula would work out to be 6 x 2 + 1 = 13. I want each of my strips of tulle to be 13" in length.
Therefore, I want my cardboard to be half of the size because I am going to wrap my tulle around it only cutting it on one side. Therefore, my cardboard should measure 6.5". I hope this makes sense!
3. Assembling your tutu
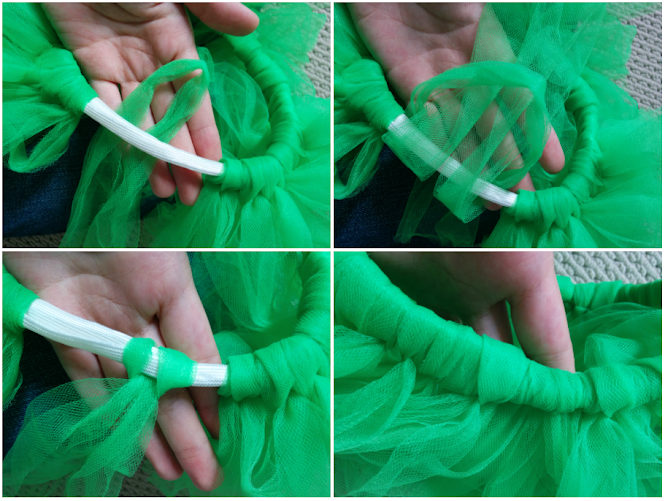
Now it's time to wrap your tulle around the elastic! You can stretch your elastic around something (e.g. cardboard/cereal box) to make this process easier. You don't need the elastic to stretch too much, just taut enough to tie all your pieces of tulle on it.
You can use 1-3 strips of tulle for each knot depending on how full you want the skirt to be. If you want a reference, I used one piece per knot. I had to be frugal since I only had one roll of tulle in this green.
I ended up having gaps here and there when the skirt stretched out, but you couldn't really tell once it was worn.

And now you have your tutu! This is a really quick project once you have all your materials. I believe altogether it took me less than an hour to complete.
I hope you enjoyed this tutorial and please share with me some of your no-sew tutus and ideas for costumes!
If you happen to be making this as a gift and are unsure of the child's waist size, here is a simple guide/table for sizing:

Did you make your own No-Sew Tutu? I'd love to see it! Please share it with me on Instagram and/or use the #onceuponacheerio hashtag.

This is an original tutorial written by Juli Anne of Once Upon a Cheerio. Please do not claim this tutorial as your own. If you wish to share this tutorial, you may link to this blog post but please do not reprint it on your site. You may keep a copy for personal use but please DO NOT sell or distribute the tutorial.


Post a Comment