"The wilderness must be explored!"
Happy Thanksgiving to all my Canadian friends out there! We're in the month of October, which means Halloween is coming soon!
We spent BB's first Halloween at Walt Disney World in Florida! She was only 5 months old at the time, so it was easy to dress her up and make her wear a costume.
Since she was 20 months old, she's been refusing certain pieces of clothing, and it's been driving me insane. But I get it... It's a phase that all toddlers go through.
 |
| Apparently, this phase started well before 20 months... |
I'm a HUGE Disney fan. Hanson and I actually spent 4 days of our honeymoon at Walt Disney World.
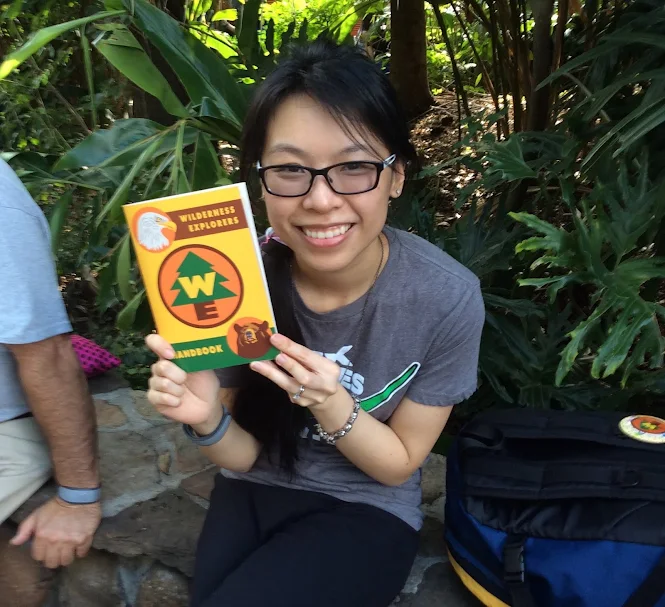
Did you know that you can become a Wilderness Explorer at the Animal Kingdom park?
You get to learn the official Wilderness Explorer pledge and complete 30+ activities around the park, and earn badge stickers for your Wilderness Explorer Handbook. This was where I got the idea to create a Wilderness Explorer costume for BB.


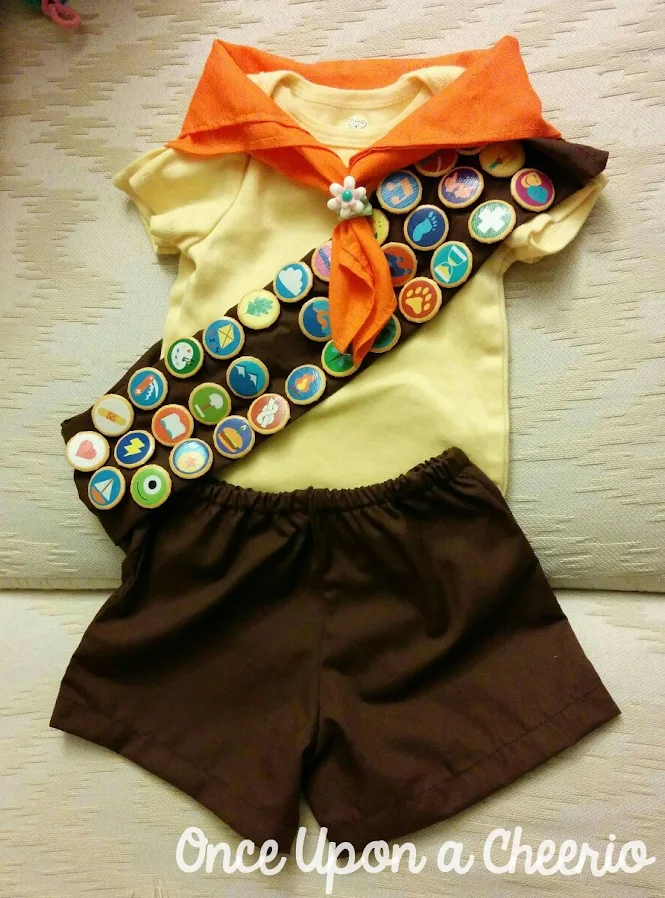
Orlando's heat can be unforgiving, so I tried to keep the outfit as simple and comfortable as possible for my 5-month-old. Here is what my Wilderness Explorer consists of:
- A basic yellow onesie
- A pair of brown shorts
- A square piece of orange fabric for the bandana
- And a brown sash for all the badges

Putting the costume together was easy, and the best part was creating all of the badges!
I decided to use button pins to create my badges. Button pin/badge makers can be quite costly, and I wasn't prepared to spend that kind of money to make a set number of buttons for a costume.
Luckily, I came across this tutorial by Inspired Barn for Easy Button-Badge Remakes and followed her steps to create my badges.

Work in Progress
Unfortunately, I made this costume before starting this blog, so this is the only work-in-progress photo that I have of this project...
I went online and bought a bunch of 1" button pins/badges for less than $10. It didn't matter to me what images were on them since they were going to be covered anyway.
I downloaded the pictures of the badges from the internet and edited the border to approximately an extra 1cm thick for cutting (with a pair of pinking shears) and wrapping around the button badge pin.
Mod Podge is kind of like white glue, but different (or so I was told). Just as a warning, if you printed your badges with an inkjet printer, the colors may start to run/smudge as you paint over it with Mod Podge.
With that in mind, I printed the badges off using a laser printer just in case. I finished the badges off with a coat of Mod Podge on top.
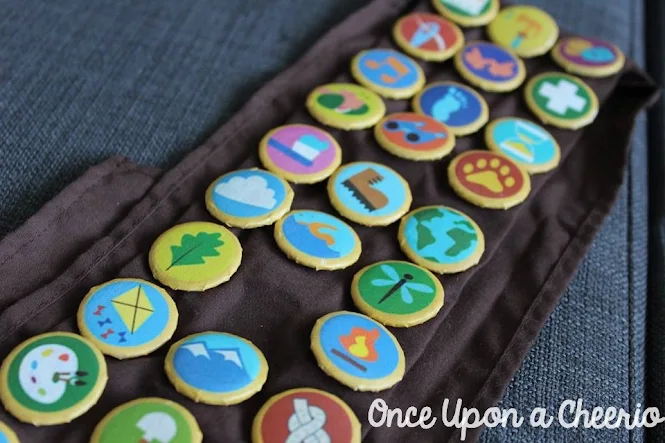
If you look closely, you can see the brush strokes left behind by the Mod Podge after it dried. It actually kind of gives it a wooden look, which can be really neat!
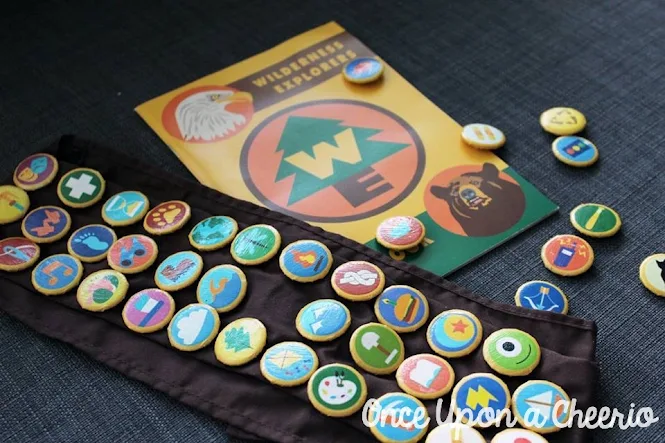
So, without rewriting the already-awesome tutorial from Inspired Barn, I'll just show you my completed project!


 |
| "These are my Wilderness Explorer badges. You may notice one is missing. It's the Assisting the Elderly badge." |
We ended up spending Halloween day at Epcot, and BB's costume was a hit! Everyone who saw her recognized her as a Wilderness Explorer.
Most people thought she was a boy because she was "dressed up as Russell", but that didn't bother me. This costume can work for both boys and girls.

We ended up using this costume on BB for the following year as well!
 |
| Look at how much she's grown! |
Did you make your own Wilderness Explorer Costume? I'd love to see it! Please share it with me on Instagram and/or use the #onceuponacheerio hashtag.


Post a Comment