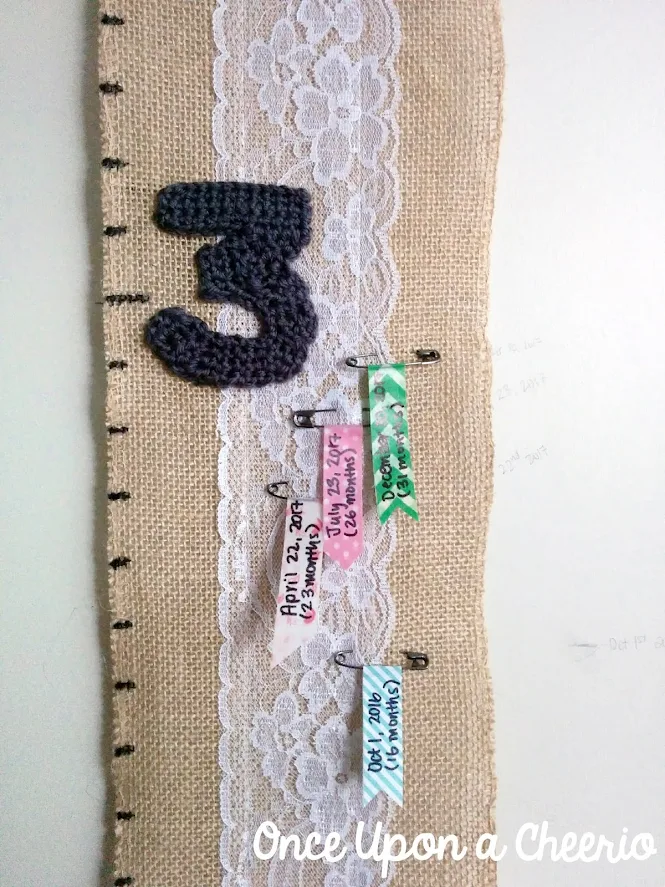
We've been marking BB's heights on the wall for a while now. And since Mui Mui was able to stand on her own, we started marking her heights too.
I ordered a growth chart online last year, but then it never arrived. Luckily, I got my money back, but the point was that I still wanted a decent-looking growth chart that we can add to our home to keep track of the kids' growth.

I've stumbled upon some gorgeous DIY growth charts on Pinterest and decided to make an attempt at creating one myself.
I initially saw these bronze-colored metal numbers from Daiso that I thought I was going to use on my growth chart, but by the time I wanted to buy them, they had sold out.
Unfortunately, it doesn't seem like a product they even stock anymore because it's been MONTHS and I have yet to see them in stores again.
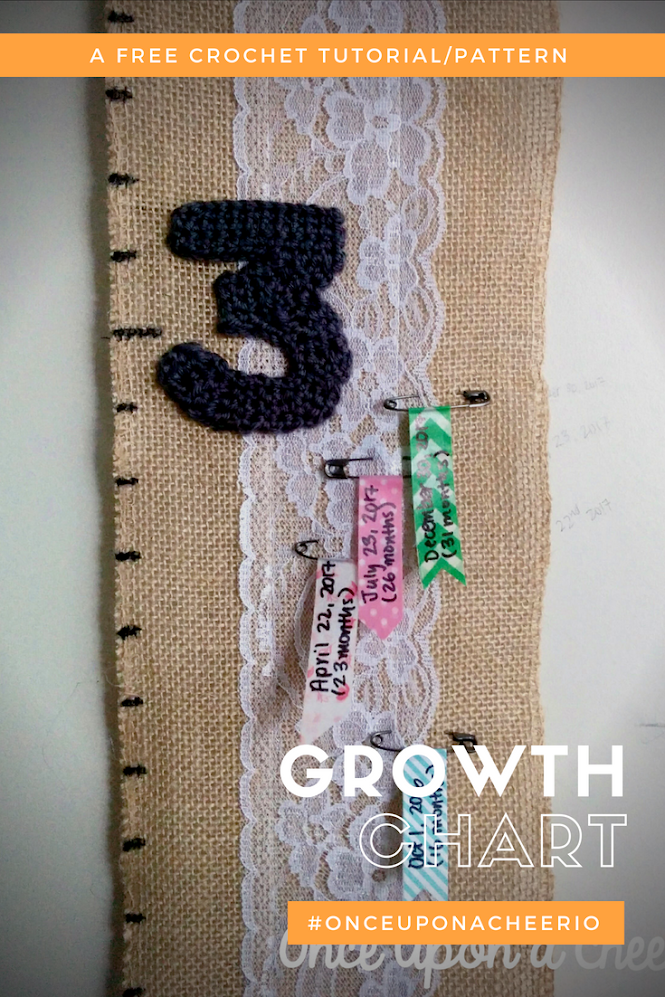
I crochet a lot of things, I don't know why I didn't think to crochet the numbers! I found these free crochet patterns for crochet numbers from Moogly, and they were a perfect size. The final product turned out so much cuter than I had envisioned!

Last year, 12 days before Christmas I posted a photo on Instagram of the number "12" using crocheted numbers. Yes, I started this project long ago. I just haven't been able to take photos of it until now.
Want to make your own Crocheted Growth Chart? Keep reading!
What You Need / Materials
- Burlap Table Runner (at least 210 cm or 7 feet in length, mine is 15cm wide)
- Yarn
- 4.0 mm Crochet Hook
- Wooden Dowels
- Jute String
- Safety Pins
- Washi Tape
- Yarn Needle
- Scissors
1. Crochet Your Numbers
I used the worsted-weight yarn to crochet the numbers on my growth chart. You can get the crochet pattern for these numbers from the Moogly blog. You will only need the numbers 1 to 6. Unless your family is really tall and you expect your child to grow beyond 7 feet.

2. Iron Your Burlap
My burlap banner did not lie flat and it made the measurements a little off when I hung it on the wall. I'll admit that I didn't clue into doing this step until after I sewed on the numbers. So I'll advise doing this step early on!

3. Mark the Measurements
Use a measuring tape and a permanent marker, and mark your measurements in inches along the side of your burlap.

4. Trim, Sew and Saw
Trim your burlap to the height of your growth chart, and make sure to leave a little extra so you can sew the ends for you to insert your wooden dowels. My dowels are a foot long, so I needed my dad's help to saw them to a length where I would only have approximately 1 inch sticking out on both sides.

6. Numbers
Sew on your numbers - pretty straightforward!
7. Hang Up Your Growth Chart
If your burlap is like mine, it's probably kind of wavy when you hang it up. While the ironing helped a little, it didn't completely solve this problem, making the measurements a bit off.
Instead of using a push pin or nailing the growth chart to the wall, I used another two hooks to pull down on the wooden dowels so they would stay in place and straighten out the growth chart.

8. Mark your heights
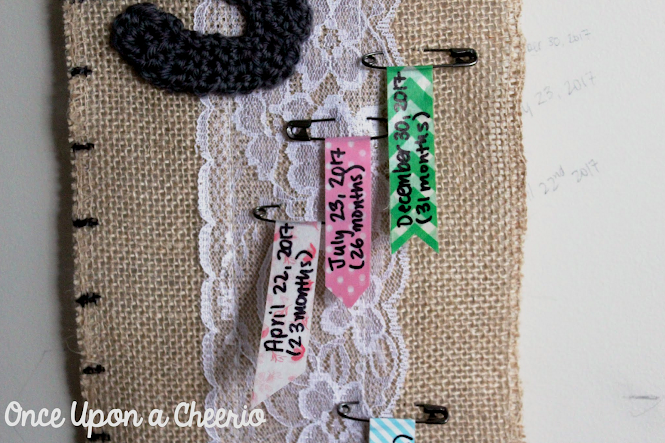
Here comes the fun part! I used some safety pins and washi tape to mark the heights. I'm sure my husband is glad that I'm finally putting my collection of washi tape to good use.

This project should take no more time than an afternoon (as long as your kids are not hanging off you). I hope you will have fun making your own Crocheted Growth Chart!
I love that these growth charts are so portable. They would make great presents for baby showers and/or first birthdays. I have one for BB right now but will be making a second one for Mui Mui soon.
They grow up so fast!
Did you make your own Crocheted Growth Chart? I'd love to see it! Be sure to share it with me on Instagram and/or use the #onceuponacheerio hashtag.

This is an original crochet tutorial written by Juli Anne of Once Upon a Cheerio. Please do not claim this crochet tutorial as your own. If you wish to share this crochet tutorial, you may link to this blog post but please do not reprint it on your site. You may keep a copy for personal use but please DO NOT sell or distribute the crochet tutorial.
You may sell products made from this crochet tutorial, but please clearly credit the design to me, Juli Anne of Once Upon a Cheerio and provide a link to my blog www.OnceUponaCheerio.com. Permission is NOT granted for mass production or factory manufacturing of any kind. Thank you for understanding!
You may sell products made from this crochet tutorial, but please clearly credit the design to me, Juli Anne of Once Upon a Cheerio and provide a link to my blog www.OnceUponaCheerio.com. Permission is NOT granted for mass production or factory manufacturing of any kind. Thank you for understanding!


Post a Comment