I don't really do commissions... and over the years, I've almost made it a rule of mine not to do commissions.
For one, most of the people who ask are friends. It's always hard to charge friends money. And for another, I always have some sort of WIP that I'm designing and if you've ever tried to design your own crochet pattern, you'll know it can be pretty time-consuming.
However, last summer, I met this girl at work, and quickly became friends. She found out that I crocheted through my Instagram and asked me if I could make something for her, a checkered crochet bucket hat.
I initially turned her down because I just didn't know if I could commit to it.
After taking a closer look at what she was asking me to make (and a crazy night of partying), I had a sudden change of heart and thought, why not!
It didn't look too hard to make and I get to share another original crochet pattern on the blog with my readers!

The checkered crochet bucket hat turned out SO GOOD. Unfortunately, I am not great when it comes to taking selfies. Luckily, my friend for whom I made the crochet hat was VERY good at that.
So when I delivered the hat to my friend, I asked her to help me take some modelesque photos of herself and allow me to publish them on my blog and social media.
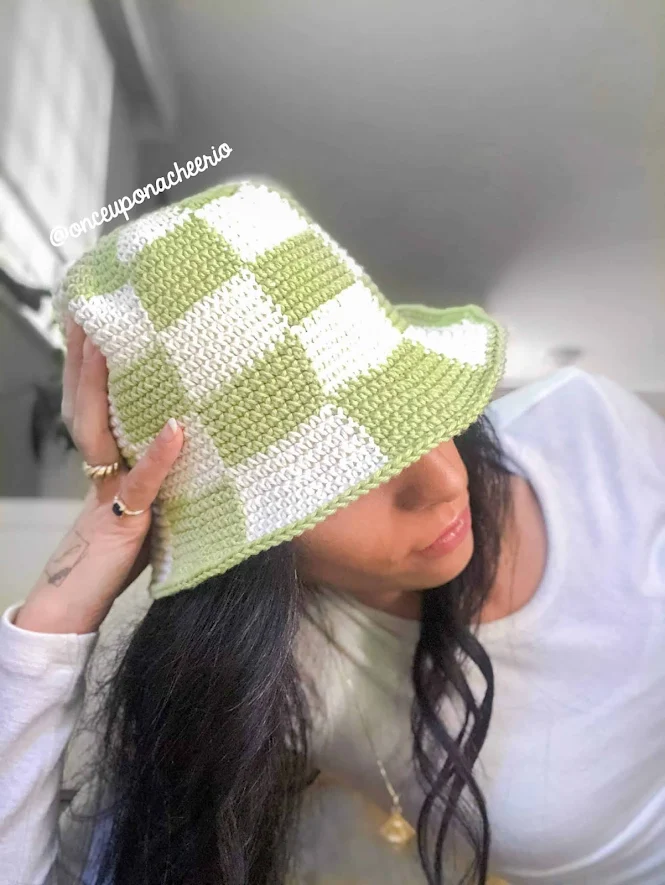
I'm so glad that she was comfortable enough for me to share her photos with the world because they turned out AMAZING! Doesn't she look gorgeous?!
I also felt cool this one night, so I named this "Oh Snap!" Bucket Hat - you like it?!
I chose to use cotton yarn for this project because I wanted the hat to be breathable for the spring and summer weather. Luckily, with my recent collaborations with WeCrochet, I had an entire color pallet of their cotton yarn to choose from!
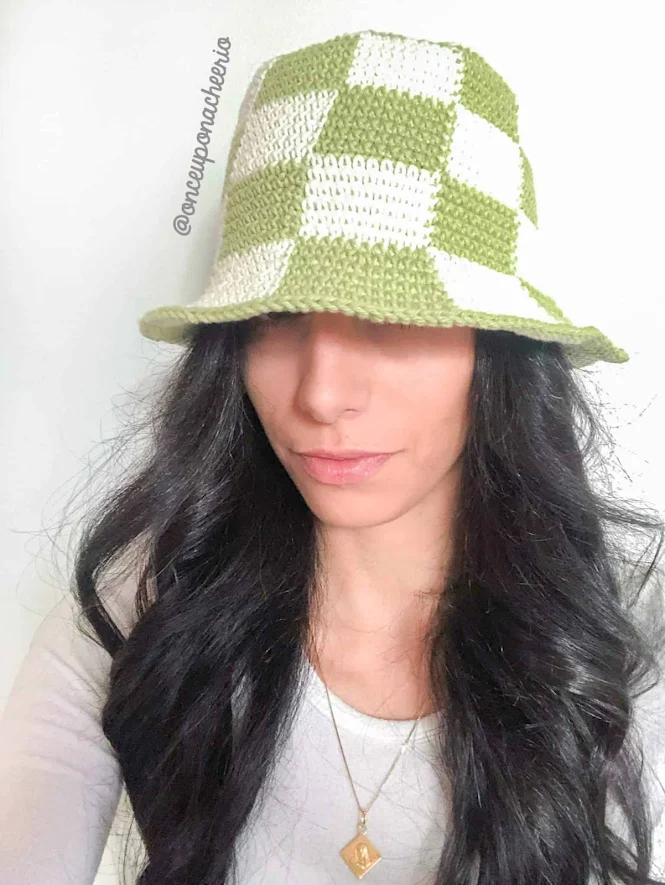
Dishie Yarn turned out to be an absolute wonder to work with. It's 100% cotton.
As the name suggests, people often use it to make dish towels and home decor projects with it, but it's easily one of the softest cotton yarns I've worked with. It holds its shape really well and it's a durable yarn that can withstand wear and tear.
If you're looking to make this crocheted checkered bucket hat, make sure you give the Dishie Yarn a try!
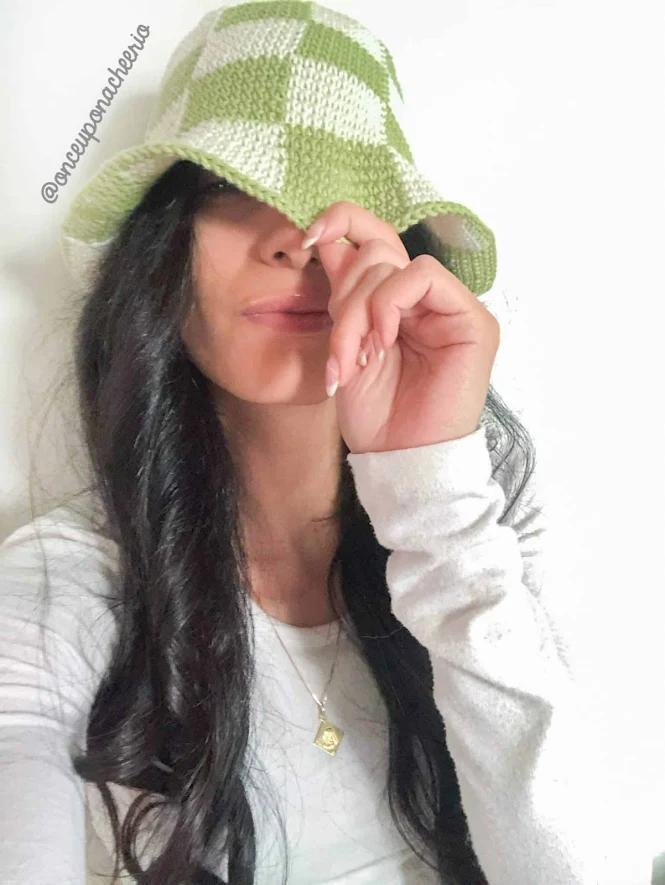
I can't wait to share with you the crochet pattern!
I've received many emails and comments regarding how to change colors. I've filmed a video of how I use the working yarn to wrap around the non-working yarn to hide the colors.
Do NOT cut the yarn after every single color because you will end up with a lot of ends to weave in.
Remember to like Once Upon a Cheerio on Facebook. I'd also love it if you followed @onceuponacheerio on Instagram!
Don't have time to make it right this instant? Pin it for later!
Checkered Bucket Hat Crochet Pattern FREE
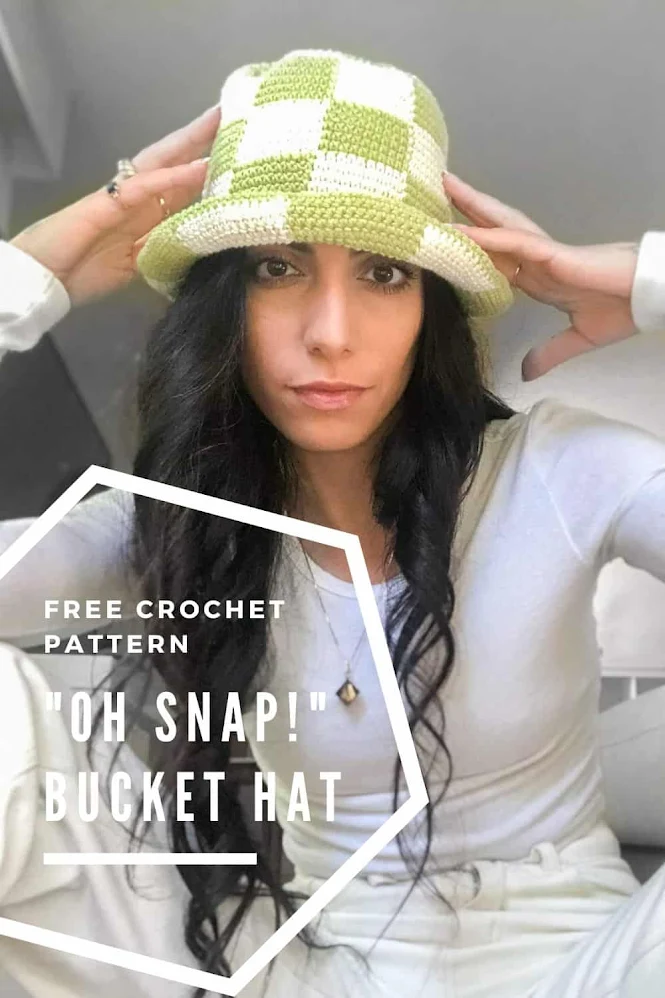
This crochet pattern is available for FREE on this website. If you'd like an ad-free, printable PDF version, you can purchase it for a small fee from my Ravelry shop.
What You Need / Materials
Most of these items can be purchased through our affiliate links. Purchasing items through these links will not cost you any extra money. Please see our disclosure policy for more details.
- Worsted Weight Cotton Yarn
- 1 ball of Color A (I used Dishie Yarn in Honeydew)
- 1 ball of Color B (I used Dishie Yarn in Swan)
- 5.5 mm Crochet Hook
- Yarn Needle
- Stitch Markers
- Scissors
Yarn Substitutions
- Hobbii Friends Cotton 8/8 (100% cotton; 75 m / 218 yds per 50g / 1.75 oz)
- Hobbii Rainbow Cotton 8/8 (100% cotton; 75 m / 218 yds per 50g / 1.75 oz)
Stitches & Abbreviations
- st/sts - stitch/stitches
- sc - single crochet (using the yarn under method)
- sc inc - single crochet increase, 2 single crochets in one stitch
Notes
- This crochet bucket hat is made using the "Yarn Under Single Crochet" technique. This technique makes the stitches appear more aligned.
- Gauge: 10 cm x 10 cm (4" x 4") = 18 sc stitches x 17 rows
- This crochet pattern makes an adult-sized bucket hat that fits a head size of approximately 21-23" in circumference.
- This bucket hat is worked from the top down, from the crown to the brim.
- If you're unsure how to change color, use my step-by-step guide on changing color in crochet.
- Work in continuous rounds, do not slip stitch after each round.
- To make sure the magic ring didn't loosen or unravel, I used the double magic ring method.
- I used the invisible fasten-off method to neatly finish the work before I weaved in my ends.
FREE Crochet Pattern
Using a 5.5 mm crochet hook with color A yarn...
Round 1: Magic Ring with a base of 10 stitches (10 sts)
Round 2: Sc inc in each st around (20 sts)
Round 3: [Sc, sc inc] x 10 times (30 sts)
Round 4: [Sc, sc inc, sc] x 10 times (40 sts)
Change and start the round with color B yarn...
Round 5: Sc in each st around - alternate color every 4 sts (40 sts)
Round 6: [3 sc, sc inc] x 10 times - alternate color every 5 sts (50 sts)
Round 7: [2 sc, sc inc, 2 sc] x 10 times - alternate color every 6 sts (60 sts)
Round 8: [5 sc, sc inc] x 10 times - alternate color every 7 sts (70 sts)
Round 9: [3 sc, sc inc, 3 sc] x 10 times - alternate color every 8 sts (80 sts)
Round 10: [7 sc, sc inc] x 10 times - alternate color every 9 sts (90 sts)
Start the round with color A yarn...
Round 11: [4 sc, sc inc, 4 sc] x 10 times - alternate color every 10 sts (100 sts)
Round 12-16: Sc in each st around - alternate color every 10 sts (100 sts)
Start the round with color B yarn...
Round 17-22: Sc in each st around - alternate color every 10 sts (100 sts)
Start the round with color A yarn...
Round 23-28: Sc in each st around - alternate color every 10 sts (100 sts)
Start the round with color B yarn...
Round 29: [9 sc, sc inc] x 10 times - alternate color every 11 sts (110 sts)
Round 30: [5 sc, sc inc, 5 sc] x 10 times - alternate color every 12 sts (120 sts)
Round 31: [11 sc, sc inc] x 10 times - alternate color every 13 sts (130 sts)
Round 32: Sc in each st around - alternate color every 13 sts (130 sts)
Round 33: [6 sc, sc inc, 6 sc] x 10 times - alternate color every 14 sts (140 sts)
Round 34: Sc in each st around - alternate color every 14 sts (140 sts)
Round 35: [13 sc, sc inc] x 10 sts - alternate color every 15 sts (150 sts)
Use color A for the rest of the round...
Round 36: Sc in each st around (150 sts)
Cut and fasten off, leaving a tail to fasten off invisibly.
I've also made this bucket hat for myself and our girls for our Disney Vacation!
The variety of colors you can choose from makes it great for a disneybounding option!
Did you make your own "Oh Snap!" bucket hat? I'd love to see it! Please share it with me on Instagram and/or use the #onceuponacheerio hashtag.
This is an original crochet pattern written by Juli Anne of Once Upon a Cheerio. Please do not claim this crochet pattern as your own. If you wish to share this crochet pattern, you may link to this blog post but please do not reprint it on your site. You may keep a copy for personal use but please DO NOT sell or distribute the crochet pattern.
You may sell products made from this crochet pattern, but please clearly credit the design to me, Juli Anne of Once Upon a Cheerio and provide a link to my blog www.OnceUponaCheerio.com. Permission is NOT granted for mass production or factory manufacturing of any kind. Thank you for understanding!




How cute is that! My college age granddaughter has been asking for a bucket hat and I love yours. Thank you!
Hey! how many grams of yarn did you use?
Yayyy!!! I hope you get a chance to make one! The bucket hat actually turned out way cuter than I thought it would!
I used approximately 130 yards of EACH colour. I don't know for sure how many grams, but I'm estimating about 140 grams of yarn in total?
Just want to know, what happens after Row 36? How do you finish it off?
Thanks
Oh oops! Sorry, I guess I forgot to say that you're supposed to cut and fasten off. You can follow this tutorial to fasten off invisibly!
I love this pattern. Please clarify whether you crocheted in a continuous round, or did you sl st and chain to join at the beginning of each row? Thank you for sharing. Can't wait to get started.
That hat is so so cute! I just know my granddaughter will love it...if I don't keep it for myself!
They're continuous rounds. You don't need to join or slip stitch at the beginning of each round.
It is definitely really tempting!!
I love this hat pattern, but is there a specific way you used to change the colors??
Message me on Instagram and I'll send you a short video on how I make colour changes :)
Cute pattern! What do you mean by sc,sc inc x10?
Hey Shannon! It's supposed to say [sc, sc inc] x 10, which means to repeat whatever that's in the brackets 10 times in that sequence (i.e. sc, sc inc, sc, sc inc... etc).
Hi---I am getting ready to purchase your pattern on ravelry and was wondering if you could explain how you do your color change. Instead of dropping colors do you carry them ? I do not have instagram to receive a video. Thanks.
Hey there! I uploaded a video that shows you how to crochet over the non-working colour and how to change colours as well for the bucket hat. I hope that helps!
Hi, Because I'm continuously crocheting, my squares aren't lining up in one place. How did you prevent that? Also, as I am working the top of the hat, it's rippling. Did that happen to you as well?
Hi! Make sure you are doing yarn-under single crochet stitches. That will help with the alignment of the squares. I tend to crochet with a tighter gauge, so make sure your gauge is right. If it's too big, try using a smaller hook.
I just finished making this and I absolutely love it, however it’s about 2” too big for my head. How would you recommend adjusting the pattern to make it smaller?
Hey Allie! Your tension is probably looser than mine. In this case, I would advise to maybe go down a hook size if you can. This will result in a smaller hat :)
How can I make the hat bigger? I just finished and it’s so cute! I just have a big head lol. It fits my bf though!
The easiest way to make a larger bucket hat without altering the pattern is to go up a hook size.
I love the pattern. I made a cute hat dir my newborn nephew ‘cause i did use To thin yarn
Made this hat and loved how it turned out. Used a smaller hook because I read a couple of comments saying it was too big. I crochet pretty tight so it barely fits. Should have stayed with larger hook.
Post a Comment