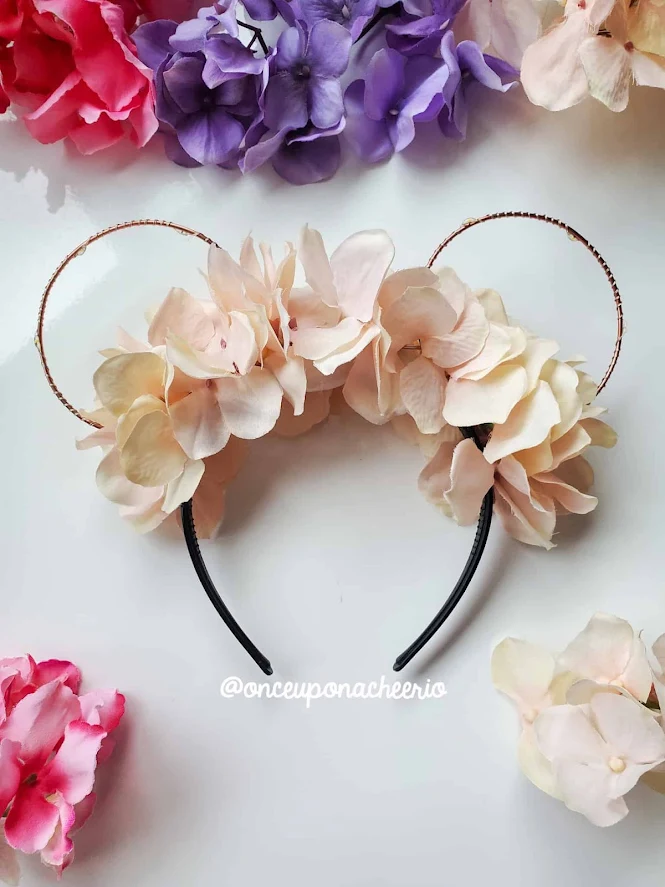
Many years ago, I came across these floral mouse ears on Instagram. I became obsessed with them and followed more accounts that created them.
I'm a "monkey-see-monkey-do" type of girl, and so of course I thought to myself, "I can make those".
We bought tickets to Disneyland a few years back just before the world shut down from the pandemic. We had a trip planned for May 2020, but we all knew what happened in 2020.

It took me more than a year to get all my money back from the bookings: the flight tickets, the hotel, etc. The only thing that I didn't bother to get a refund for was my Disneyland tickets because I had bought them with a Canadian discount and who knew if they would ever come back again?

During the two years of lockdown, I watched my Disneyland ticket's expiry date get extended to December 2021, and then again to December 2022. What are the chances that they will keep extending it if I don't use it?
Finally, things are starting back up again. I'm watching on social media that people are starting to travel again. So I convinced my husband to go!

I just knew that I had to make my own mouse ears for the trip. Because that's what everyone does, right? Do you also craft a lot before going on a vacation so you can look amazing in your photographs?
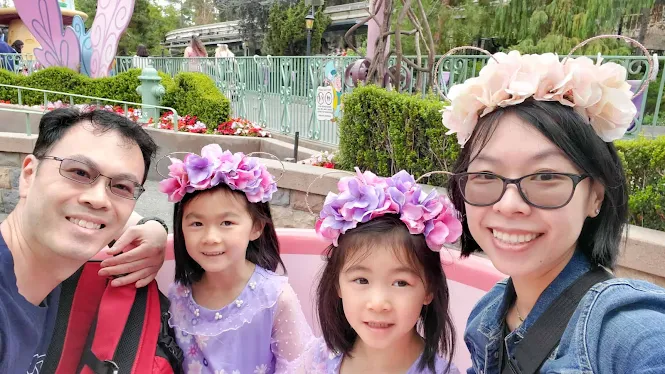
Each pair of floral wire mouse ears took me about 3 hours to make (not including the glue drying time). It could be because I'm a bit of a perfectionist. I did a lot of gluing, removing, then gluing again. But it was all worth it!

We got a lot of compliments in the park and even some squeals from other Disneyland visitors saying how cute our headbands were, especially when it was lit up at night.

Do you also craft a lot and make a lot of stuff to prepare for your vacation? Check out some other stuff I made for our Disneyland trip!
Remember to like Once Upon a Cheerio on Facebook. I'd also love it if you followed @onceuponacheerio on Instagram!
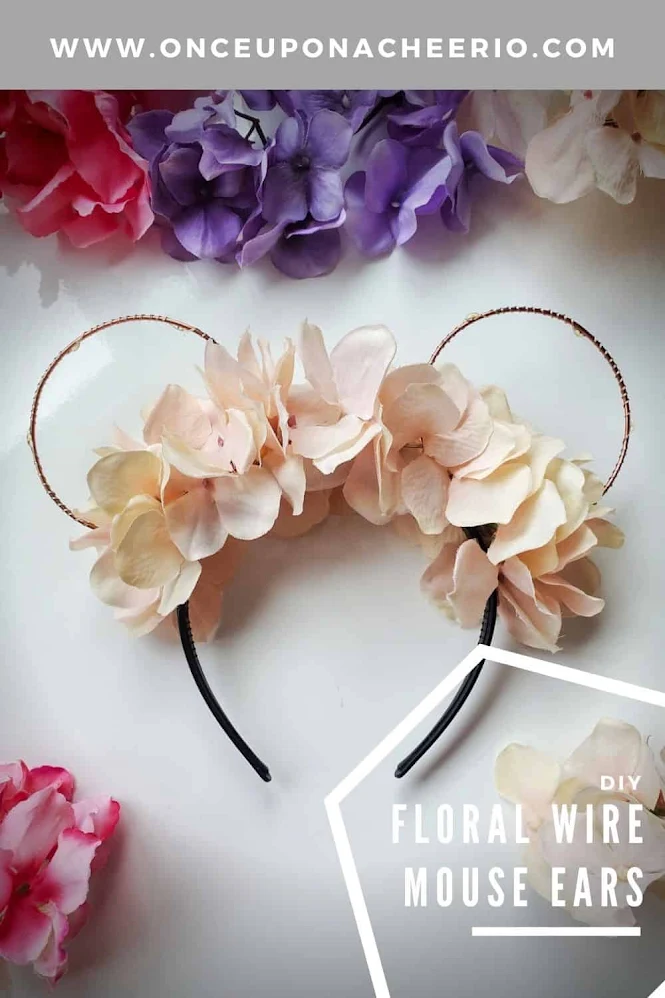
Don't have time to make it right this instant? Pin it for later!
How to Make Minnie Mouse Ears

What You Need / Materials
Most of these items can be purchased through our affiliate links. Purchasing items through these links will not cost you any extra money. Please see our disclosure policy for more details.- Hydrangea Stems (technically one stem has enough flowers to make one flower crown, but if you want to mix different colors, then you can get more stems)
- 1-inch Headband
- 12-Gauge Jewelry Wire
- Wire Cutters
- E6000 Glue
- Glue Gun and Hot Glue
- Fairy Lights (optional)
- Tape (optional)
Instructions
1. Shape your wire mouse ears
I used a standard mug to help shape my wire mouse ears. Once I had them nice and round, I used a small piece of tape to hold the circle in place. Then, curve the bottom of the mouse ears to the headband. Make 2 of them.


The jewelry wire was a softer metal than I imagined, making it very easy to bend and manipulate. Unfortunately, it also meant that any small bumps or drops to the mouse ears would require some reshaping to be done afterward.
2. Attach the wire mouse ears to the headband
I used some E6000 industrial-strength glue to attach the wire circles to the headband. And I'm glad I did!
Like I said earlier, the jewelry wire bent quite easily, so if I were to drop it or knock into a character while giving them a hug, it required some reshaping to get them back into a circle shape.


Once I placed the wire mouse ears where I want them to go, I used some binder clips to keep them in place as the glue cured. I let it sit for about 24 hours.


3. Add fairy lights to the wire mouse ears (optional)
Once the wire mouse ears were secured, I started wrapping my fairy lights around the wires. I suggest choosing these fairy lights
that use CR2032 button batteries because the battery pack is small and not heavy. It will also be easy to hide once you start gluing the flowers on.


Once you've finished wrapping the fairy lights on the wire mouse ears, you can secure the battery pack to the top of the mouse ears by using hot glue or E6000.
4. Prepare the flowers
When cutting the flowers, leave a short stem to put the glue on. Don't cut it too short to start with. You can always trim it if it's too long, but you can't make it longer if it's too short!


5. Attach the flowers to the flower crown
As much as I wanted to continue using E6000 glue to attach the flowers, it just took too long for the glue to set. I would have to hold the flowers in place for a long time and it just wasn't practical given how many flowers I needed to attach. So I opted to use hot glue for this part.
I started by gluing the flowers onto the underside of the battery pack and avoided gluing any to the top because I wanted to be able to replace the battery. However, I managed to place the flowers strategically to hide the battery pack.


Then work your way evenly on both sides and the front and back of the flower crown. Make sure it's all covered with no bald spots.
If you decide not to use fairy lights, then you can just glue the flowers directly onto the headband.
Did you make your own Mouse Ears? I'd love to see it! Please share it with me on
Instagram and/or use the #onceuponacheerio
hashtag.
This is an original craft tutorial written by Juli Anne of Once Upon a Cheerio. Please do not claim this tutorial or any of the photographs as your own. If you wish to share this craft tutorial, you may link to this blog post but please do not reprint it on your site. You may keep a copy for personal use but please DO NOT sell or distribute the craft tutorial.
You may sell products made from this craft tutorial, but please clearly credit the design to me, Juli Anne of Once Upon a Cheerio and provide a link to my blog www.OnceUponaCheerio.com. Permission is NOT granted for mass production or factory manufacturing of any kind. Thank you for understanding!
You may sell products made from this craft tutorial, but please clearly credit the design to me, Juli Anne of Once Upon a Cheerio and provide a link to my blog www.OnceUponaCheerio.com. Permission is NOT granted for mass production or factory manufacturing of any kind. Thank you for understanding!


Post a Comment