If you love making amigurumi, you'll want to have a nice way of displaying your work of art afterward. Sure you can always buy an amigurumi stand, but from my searches, you might run into the issue where it's not the right size, or it's too pricey. So... if you're a DIYer, why not try making your own DIY amigurumi stand?
Not only is it easy to make, but it's also very affordable and customizable to your needs!

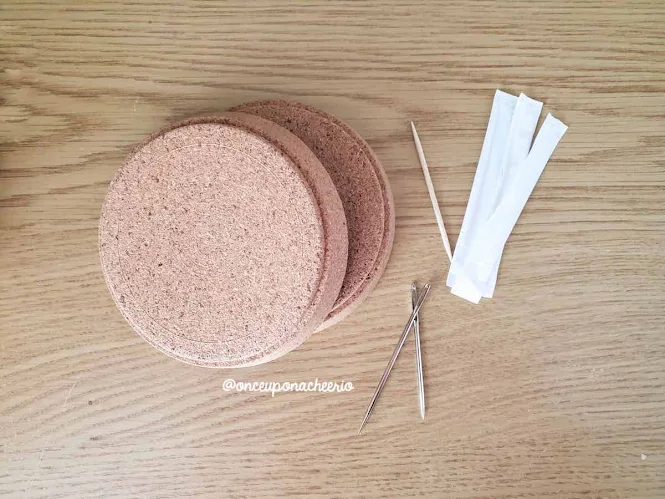
In this tutorial, I used some IKEA 365+ Cork Coasters to build my amigurumi stand. These cork coasters come in 2 sizes at the time of writing this post: 4" (10 cm) and 3.5" (9 cm). The difference in size is so small, but it's nice when there are options!
Remember to like Once Upon a Cheerio on Facebook. I'd also love it if you followed @onceuponacheerio on Instagram!
Don't have time to make it right this instant? Pin it for later!

DIY Amigurumi Stand with IKEA Cork Coasters
What You Need / Materials
Most of these items can be purchased through our affiliate links. Purchasing items through these links will not cost you any extra money. Please see our disclosure policy for more details.Amigurumi Stand Instructions
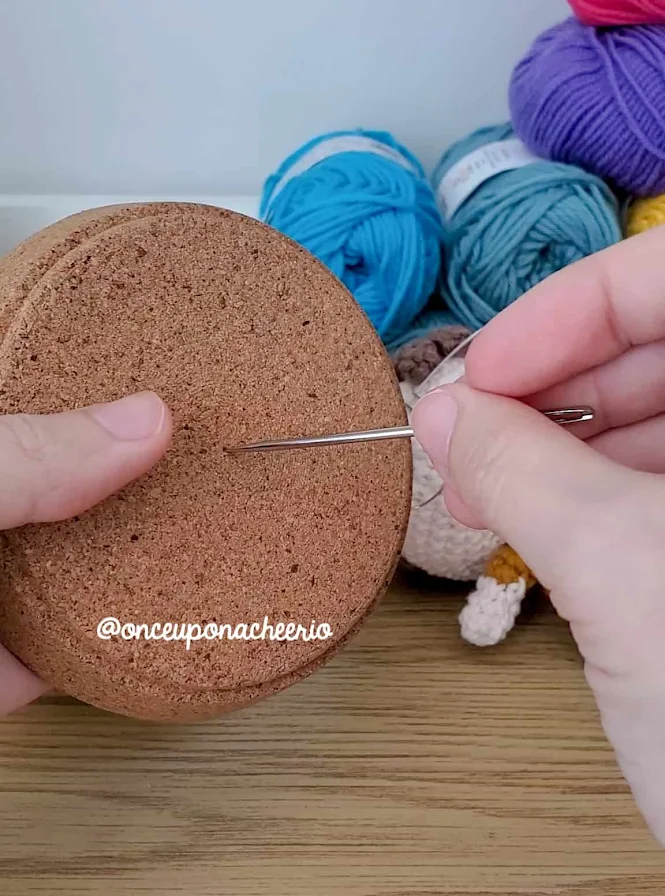
Step 1: Mark the Coasters

Using your sharp yarn needle, make a hole where you want the toothpick to stand on the bottom of the cork coaster. It doesn't need to go all the way through. Don't make it too big to start. Otherwise, the toothpick might not hold.
Step 2: Test with your Toothpick

Insert your toothpick into the hole you just made on the cork coaster. Test to see if the toothpick stands and is sturdy and won't fall over.
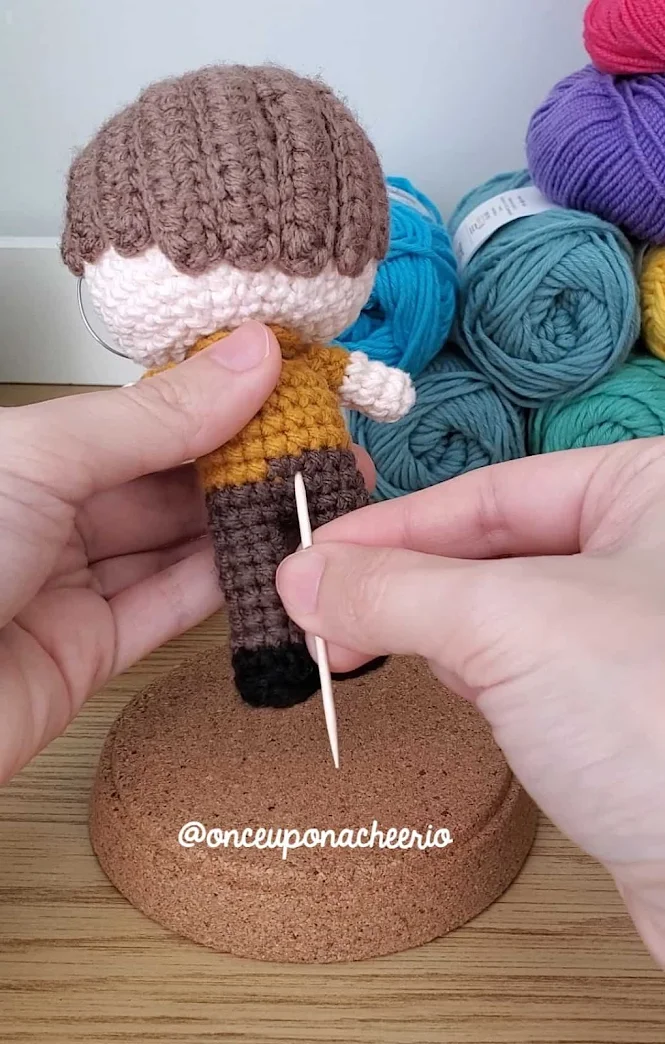
Step 3: Insert the Toothpick into Amigurumi

Insert the toothpick into your amigurumi -- sorry, Dwight!
Step 4: Position the Toothpick

Position the toothpick with the amigurumi attached to the bottom of the cork coaster where you made the hole.
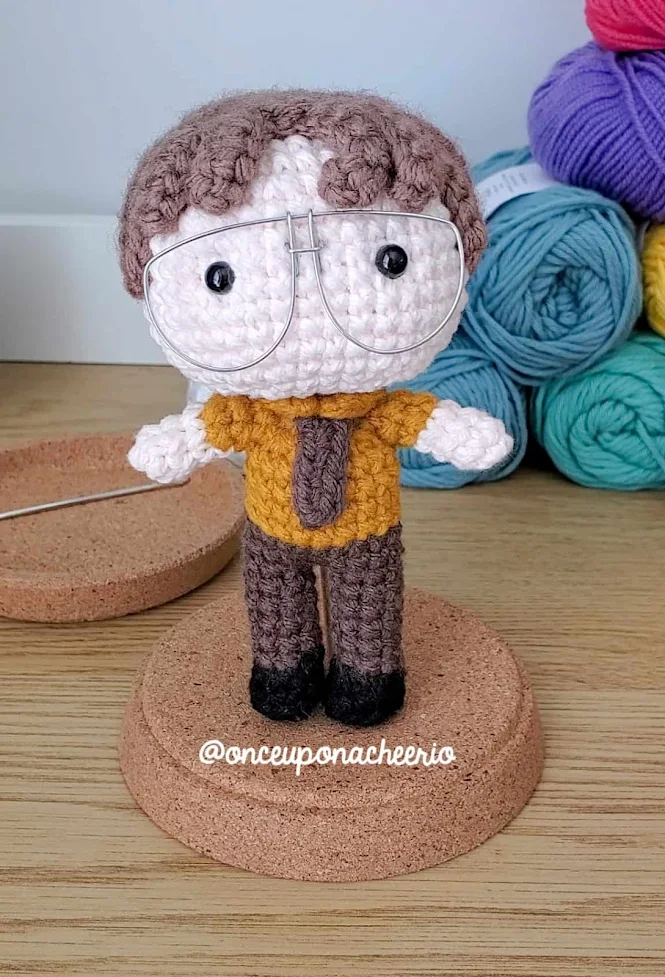
And there you have it! Your very own DIY amigurumi stand using IKEA cork coasters and toothpicks. Not only is it functional, but it's also cute and customizable. You can decorate it with stickers, paint, or anything else that suits your style.

In conclusion, making your own DIY amigurumi stand using IKEA cork coasters and toothpicks is a fun and easy project that can save you money and allow you to create something unique. With the help of this tutorial and some creativity, you can make a stand that's perfect for your amigurumi creations.
Did you make your own amigurumi stand? I'd love to see it! Please share it with me on Instagram and/or use the #onceuponacheerio hashtag.
This is an original craft tutorial written by Juli Anne of Once Upon a Cheerio. Please do not claim this craft tutorial as your own. If you wish to share this craft tutorial, you may link to this blog post, but please do not reprint it on your site. You may keep a copy for personal use, but please DO NOT sell or distribute the craft tutorial.


Post a Comment