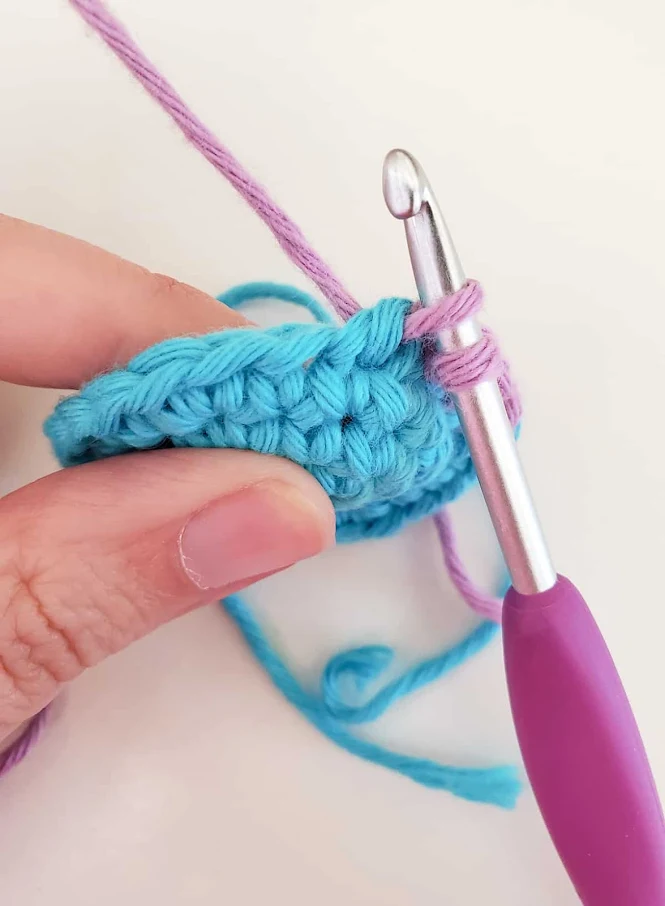
When you're crocheting amigurumi, hats, or anything with shaping, knowing how to single crochet decrease is essential. Decreases help reduce stitch count smoothly so your project curves and tapers exactly where it should. And if the idea of reducing stitches feels a little intimidating, don't worry! I've got you covered.

In this tutorial, I'll show you two common ways to decrease in single crochet:
- The standard single crochet decrease (sc2tog)
- The invisible single crochet decrease (inv dec) — a favorite for amigurumi
Both are useful, both show up in patterns all the time, and once you learn them, they'll feel just as natural as a regular single crochet.
What is a Decrease in Crochet?
In simple terms, decreasing means turning two stitches into one. This reduces your total stitch count and helps shape your project. Think of it as narrowing the top of the head, tapering a hat, or forming curves in stuffed toys.
You might be tempted to just skip a stitch to reduce your count, but that usually leaves gaps or loose spots in your work. A proper decrease keeps your fabric neat, strong, and evenly shaped.
Standard Single Crochet Decrease (sc2tog)
The standard single crochet decrease is often written in patterns as sc2tog, which stands for single crochet two together. This is a classic technique that works well for flat pieces and projects where little texture isn't a problem.
How to Single Crochet 2 Together
 |
| Step 1. Insert the hook into the first stitch. Wrap the yarn around the hook and pull a loop through the stitch (2 loops on the hook) |
 |
| Step 2. Insert the hook into the second stitch and draw up another loop. Now, you should have 3 loops on your hook. |
 |
| Step 3. Wrap the yarn around the hook and pull it through all three loops on the hook. |
When to Use sc2tog
- Flat crochet projects
- Patterns that specifically call for sc2tog
- Situations where tiny gaps won't be noticeable
Invisible Decrease (inv dec)
If you love making amigurumi, this one is a game-changer. The invisible decrease creates a much smoother finish with fewer gaps, making it perfect for toys worked in continuous rounds.
Instead of working through both loops of each stitch, you'll only use the front loops. This helps the stitches pull together more cleanly.
How to Invisible Decrease
 |
| Step 1. Insert the hook into the front loop of the first stitch. |
 |
| Step 2. Then directly also into the front loop of the second stitch that you want to decrease. You should now have both front loops and the loop of your last finished stitch on your hook (3 loops). |
 |
| Step 3. Wrap the yarn around the hook (yarn over/yarn under), and draw through both loops on the hook in one go. |
 |
| Step 4. Yarn over again and draw through both loops and your hook to finish a single crochet stitch as usual. You might notice the two stitches that you crocheted together pucker up. |
When to Use the Invisible Decrease
- Amigurumi and stuffed toys
- Projects worked in rounds, where you don't see the "wrong side" of the stitches
- Anywhere you want a smooth, polished look
Tip: The invisible single crochet decrease looks best on the right side of your work. On the wrong side, a small horizontal bar may show.

Which Decrease Should You Use?
If you're not sure which method to choose, here's a quick guide:
- inv dec: Best for amigurumi and smooth shaping
- sc2tog: Best for flat pieces or when specified in a pattern
If the pattern doesn't specify, choose the method that gives you the cleanest result for your project.
More to Love...
- How to Change Color in Crochet: Learn a smooth and simple way to switch yarn colors without extra bulk or confusion.
- How to Invisible Increase in Crochet: Master the invisible single crochet increase to add stitches seamlessly in your projects.
- How to Use a Running Stitch Marker: Discover an easy method for marking your stitches so you never lose your place again.
- How to Make a Crochet Magic Ring: Get started with the magic ring technique for perfectly tight and adjustable crochet beginnings.
Share Your Creation with Me!
What are you currently working on? I'd love to see it! Please share it with me on Instagram and/or use the #onceuponacheerio hashtag.
What's Next?
📌 PIN THIS POST to your Pinterest board so you can come back to it later!
💬 LEAVE A COMMENT, I’d love to hear from you!
🔗 ADD MY PATTERNS to your Ravelry queue or favorites!
👋 FOLLOW ME on Instagram and Facebook so you don’t miss a thing!
This is an original crochet tutorial written by Juli Anne of Once Upon a Cheerio. Please do not claim this crochet tutorial as your own. If you wish to share this crochet tutorial, you may link to this blog post, but please do not reprint it on your site. You may keep a copy for personal use, but please DO NOT sell or distribute the crochet tutorial.


Post a Comment