Earlier this year, I got the chance to review the xTool M1, which is a laser and blade cutter hybrid machine. The machine has been an incredible addition to my craft space and I've made so many cool things with it!
I've been sharing most of my xTool creations on my Instagram Stories but things are about to change as I'm trying to find time to write out the tutorials and share what I've made on my blog.
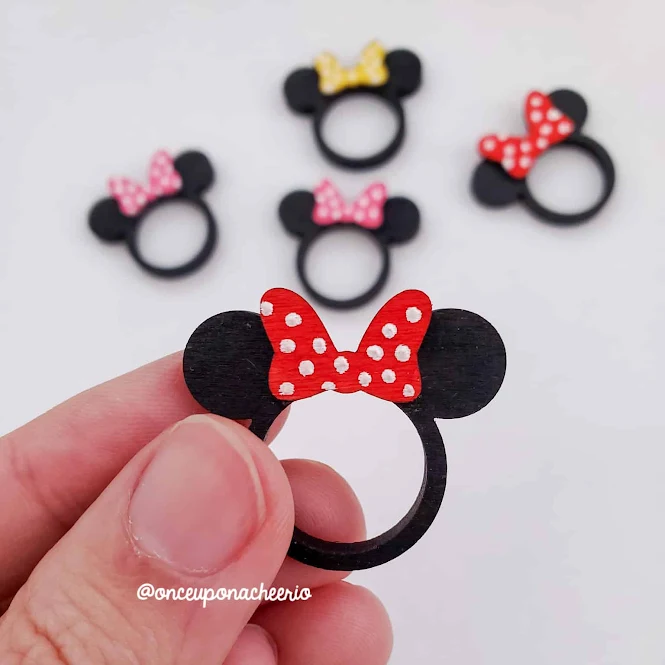
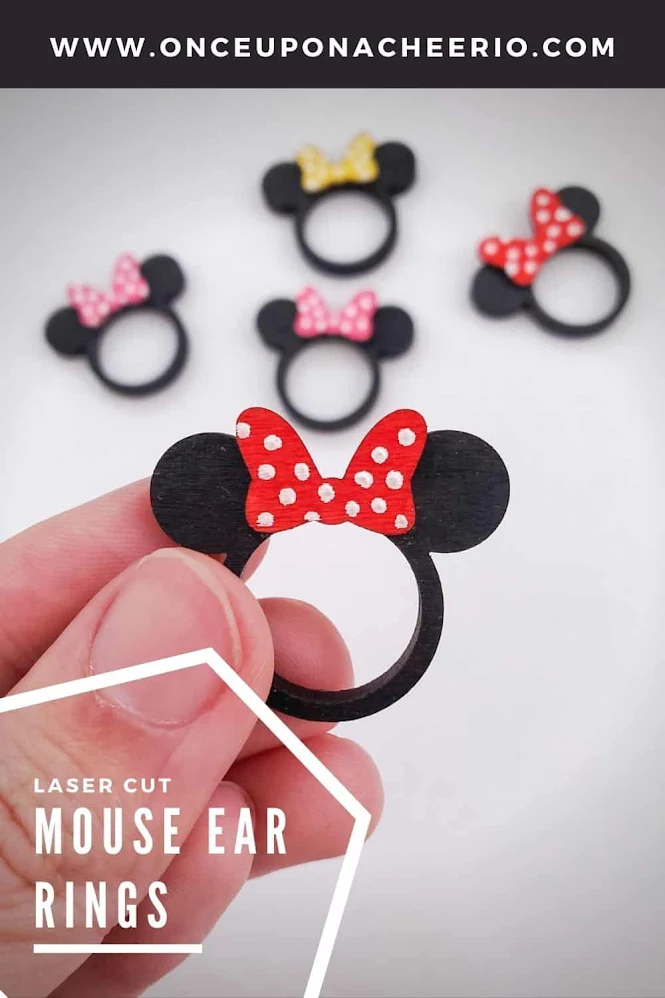
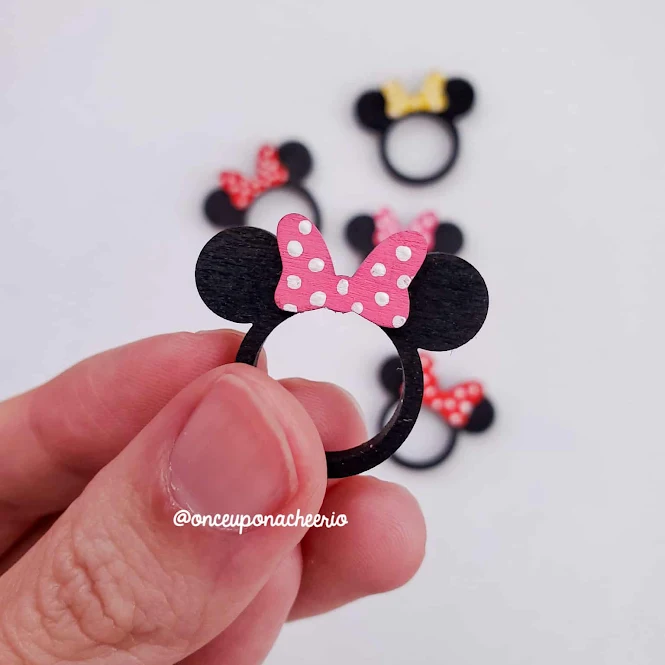
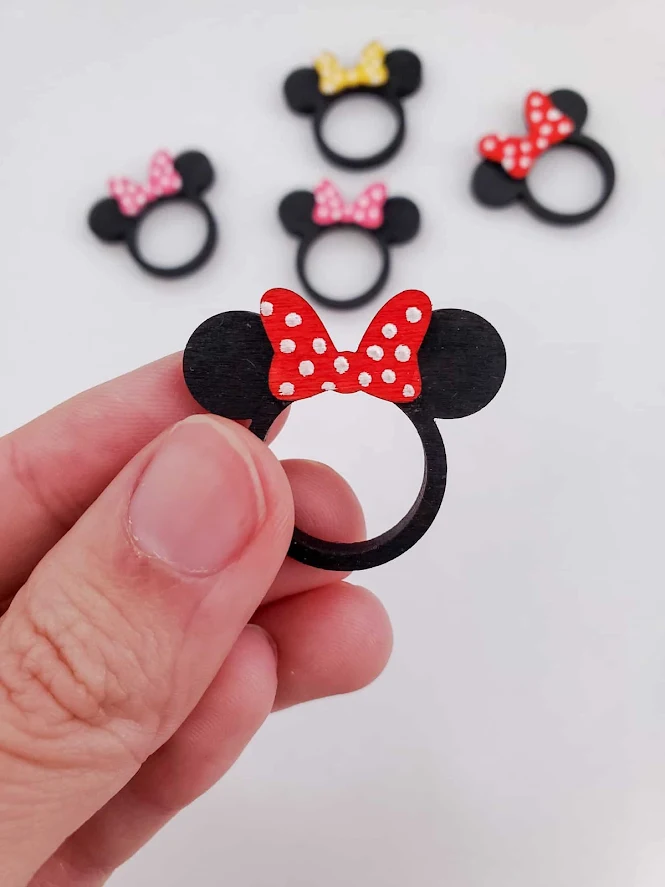
The first xTool laser cut project I wanted to share is these Mickey and Minnie Mouse rings laser-cut from basswood sheets. The rings are not very big so it's a great project to use up the leftover scrap wood from other projects.
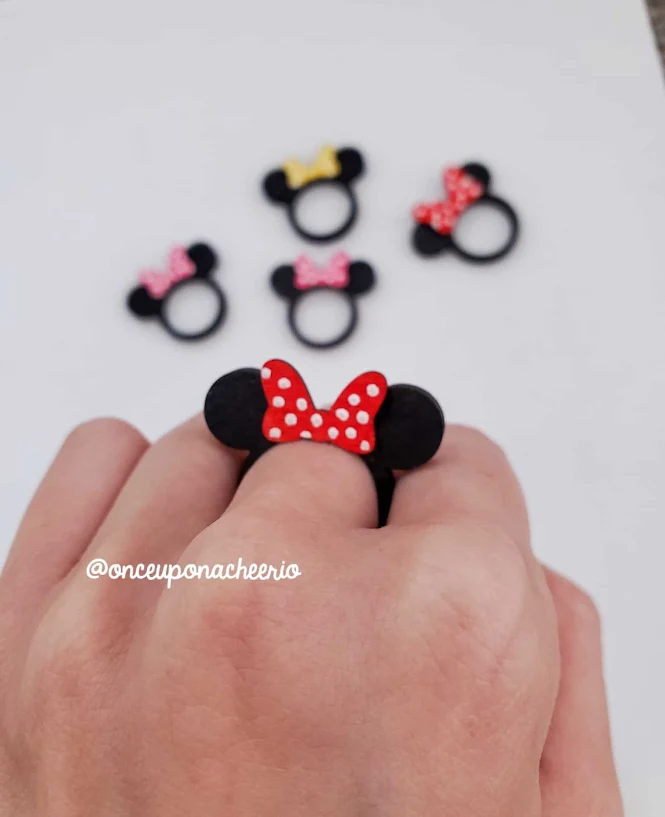
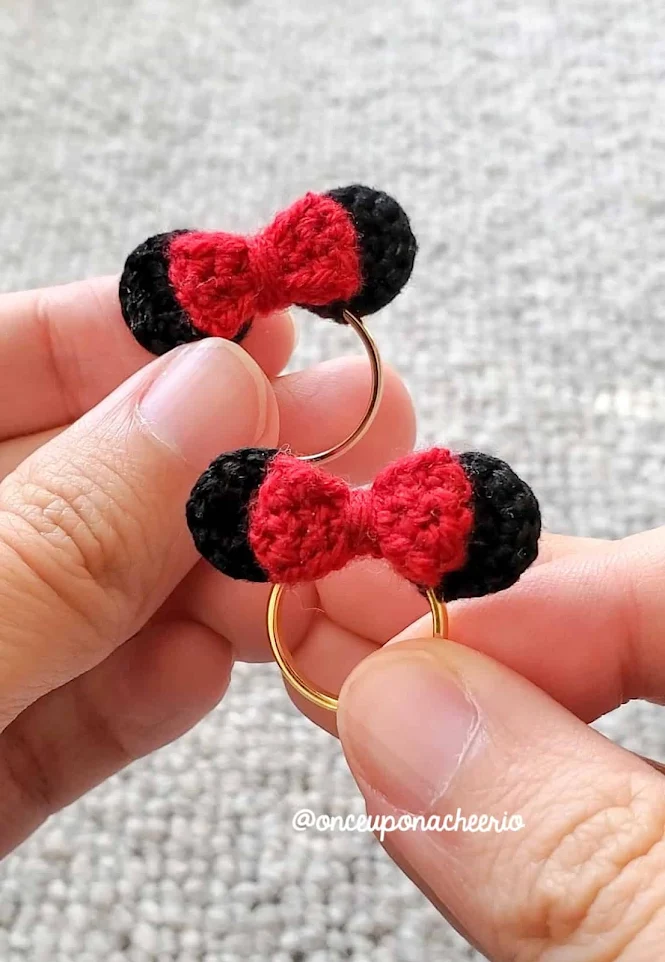
If you think these Minnie Mouse rings look familiar, you're not wrong. I've made a crochet version of these rings before!
Making these Mickey and Minnie Mouse rings has been an enjoyable project not just for me, but for the girls as well. We ended up making more than 50 rings for the girls' classmates and friends to give out as a small Christmas gift.
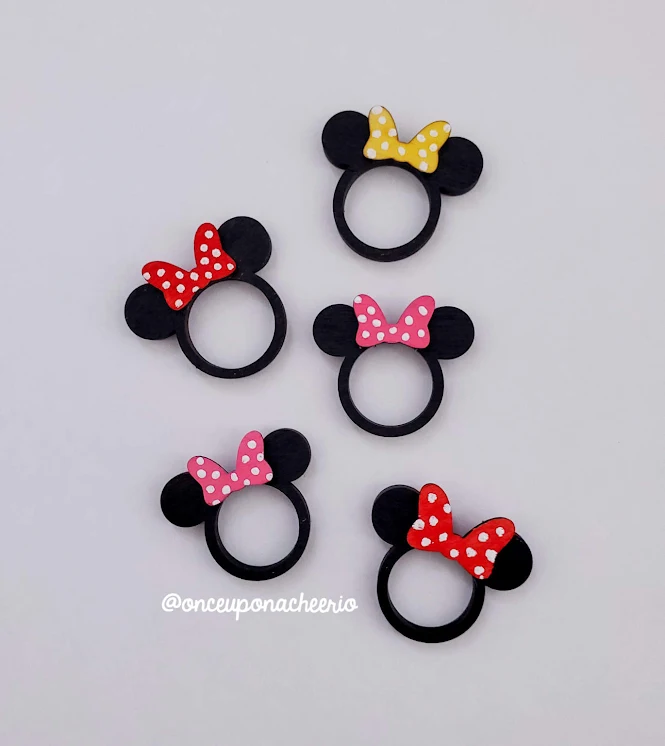
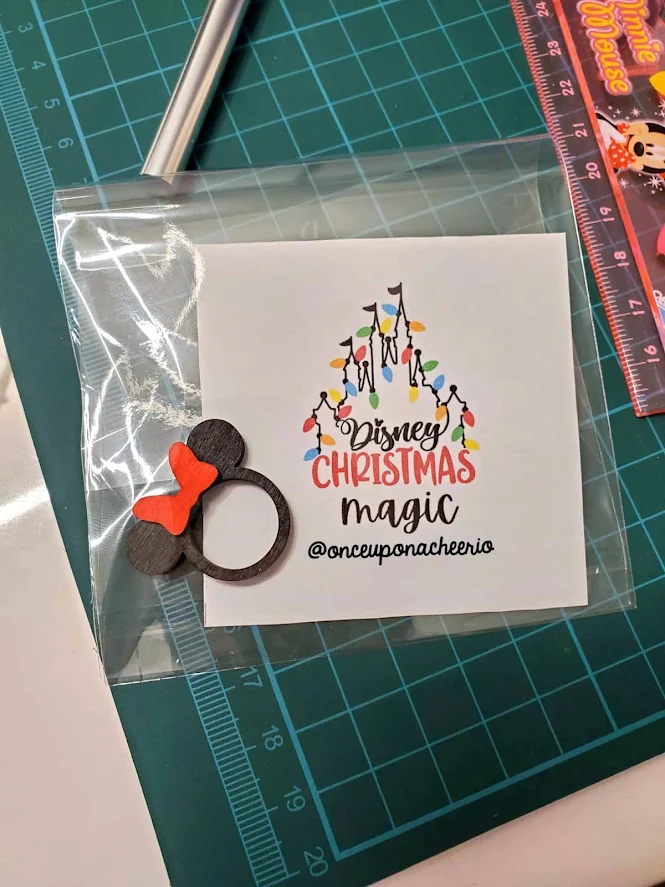
These rings were designed using the xTool Creative Space software, cut out using the xTool M1, hand-painted, assembled, and packaged individually. We made Minnie Mouse rings for the girls in the class and Mickey Mouse rings (without the bow) for the boys.
It was a fun screen-free activity for the whole family, especially when it came down to crunch time to get them ready before the last day of school before Christmas!
If you're looking to make your own, check out the tutorial below!
Remember to like Once Upon a Cheerio on Facebook. I'd also love it if you followed @onceuponacheerio on Instagram!
DIY Laser Cut Minnie Mouse Rings
What You Need / Materials
Most of these items can be purchased through our affiliate links. Purchasing items through these links will not cost you any extra money. Please see our disclosure policy for more details.
- xTool M1
- xTool Creative Space software (FREE)
- 3-4 mm Basswood Sheets (for the ring)
- 2 mm Basswood Sheets (for the bow)
- Acrylic Paint
- E6000 Industrial Glue
Download Template
Cutting out the rings using the xTool Creative Space
1) Download the template above and import it into the xTool Creative Space.
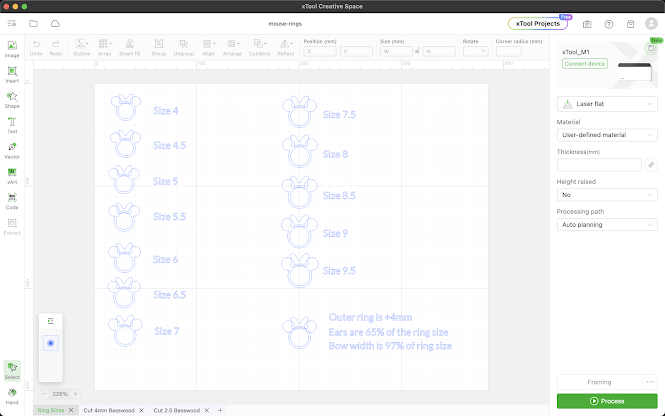
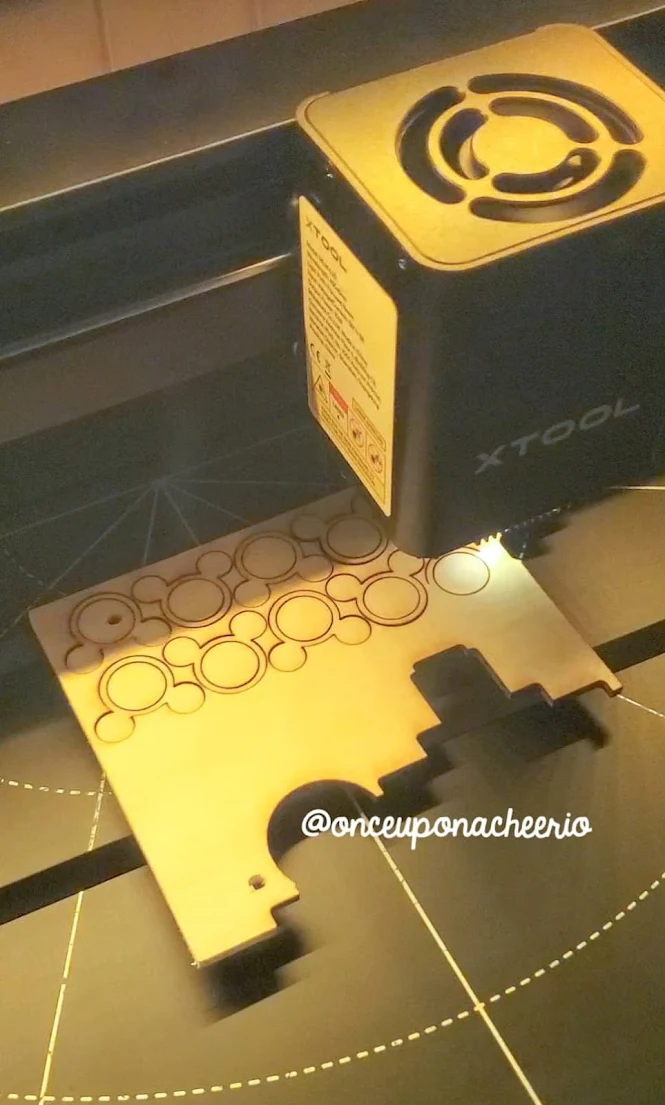
2) Use the second sheet of the template ("Cut 4 mm Basswood") to cut out the rings (Power: 100%, Speed: 5 mm/s, Pass: 1).
3) Use the third sheet of the template ("Cut 2 mm Basswood") to cut out the bow (Power: 80%, Speed: 9 mm/s, Pass: 1).
The template provides ring sizes from 4 to 9.5. If you require a size outside of that, follow the simple instructions below:
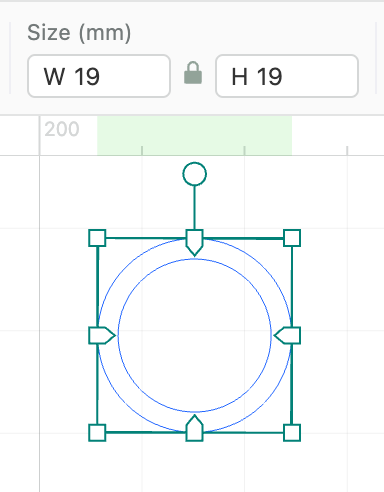
1) Create the inner circle with the diameter size of the desired size in mm (e.g. 15 mm).
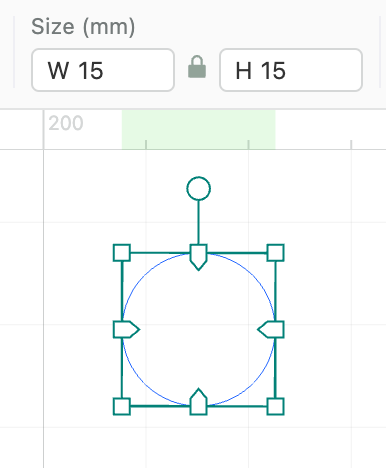
2) Then, create an outer circle with the diameter size of the desired size in mm and add 4 mm (e.g. 15 mm + 4 mm = 19 mm). Position it and center the inner circle in the middle of the outer circle.
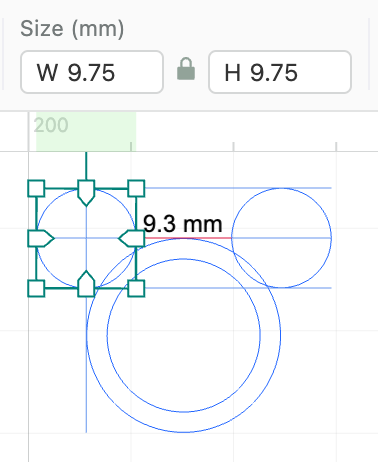
3) Copy the circle and create 2 ears, which are going to be 65% of the ring size (e.g. 15 mm x 65% = 9.75 mm). Position it to the sides of the outer circle.
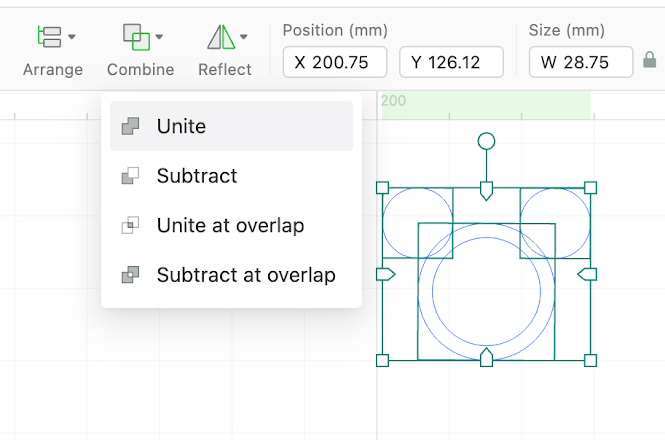
4) Then select the two ears and the outer circle, then click Combine > Unite. Use the xTool M1 laser cutter function to cut as per the above instructions.
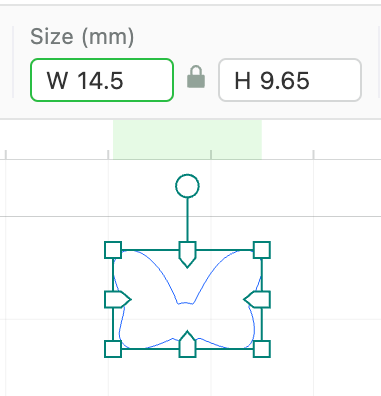
5) Copy the bow and size it so that the width is 97% of the inner ring (e.g. 15 mm x 97% = 14.5 mm). Use the xTool M1 laser cutter function to cut as per the above instructions.
Assembly
1) Remove the rings and bows from the xTool M1 laser cutter and clean the edges as needed.
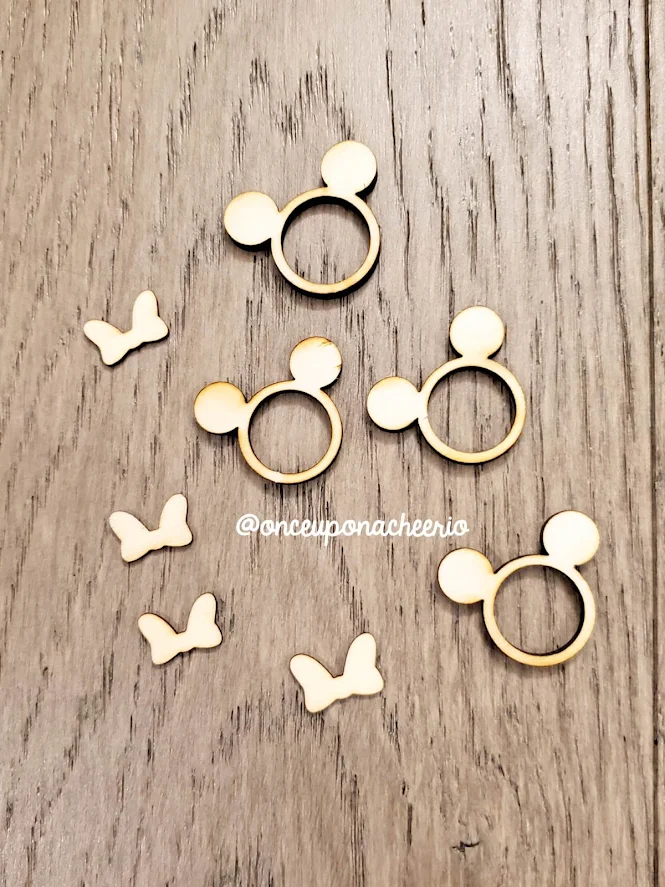
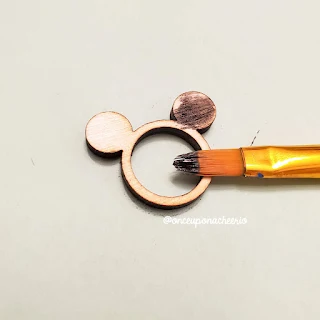
2) Paint the rings and the bows using acrylic paint. Wait for it to dry. Optional: If you want to apply dots to the bows, I found that using a toothpick made more precise dots than a paintbrush.
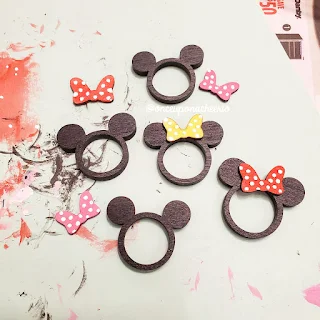
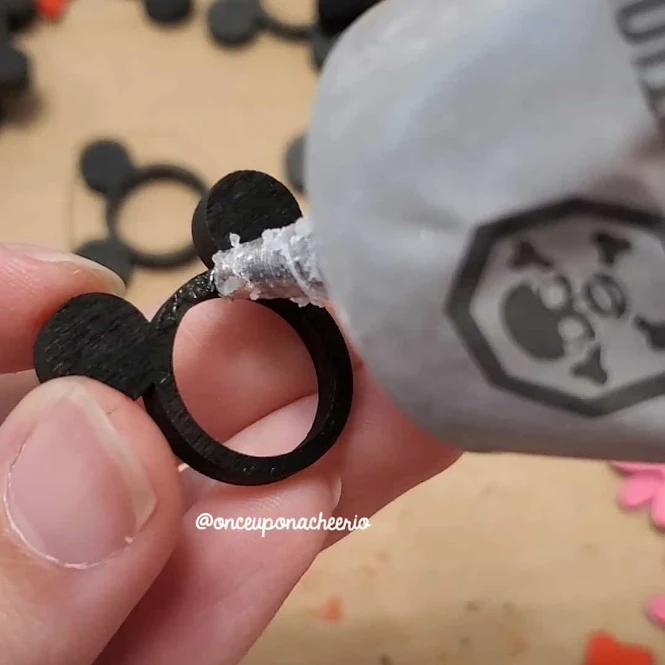
3) Glue the bows to the top of the mouse ear rings using the E6000 industrial glue.
4) Package nicely and gift!
Did you make your own Minnie Mouse rings? I'd love to see it! Please share it with me on Instagram and/or use the #onceuponacheerio hashtag.
This is an original craft tutorial written by Juli Anne of Once Upon a Cheerio. Please do not claim this craft tutorial as your own. If you wish to share this craft tutorial, you may link to this blog post, but please do not reprint it on your site. You may keep a copy for personal use, but please DO NOT sell or distribute the craft tutorial.
Disclaimer: We are not affiliated, associated, authorized, endorsed by, or in any way officially connected with The Walt Disney Company, Disney Enterprises, Inc., or any of its subsidiaries or affiliates. Mickey and Minnie Mouse is a trademarked character owned by Disney. Please reserve this craft tutorial and the finished product for personal use ONLY.


Post a Comment