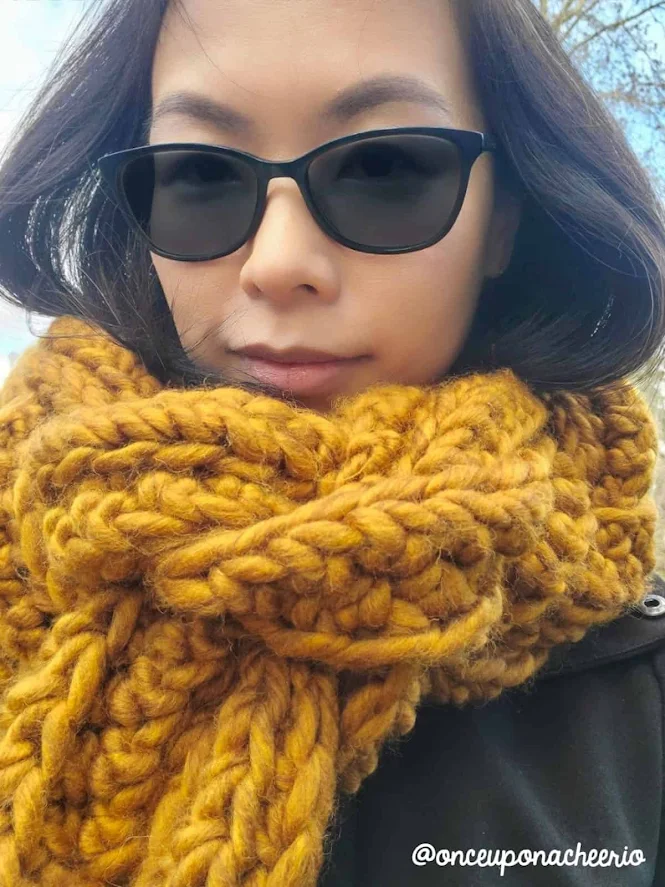
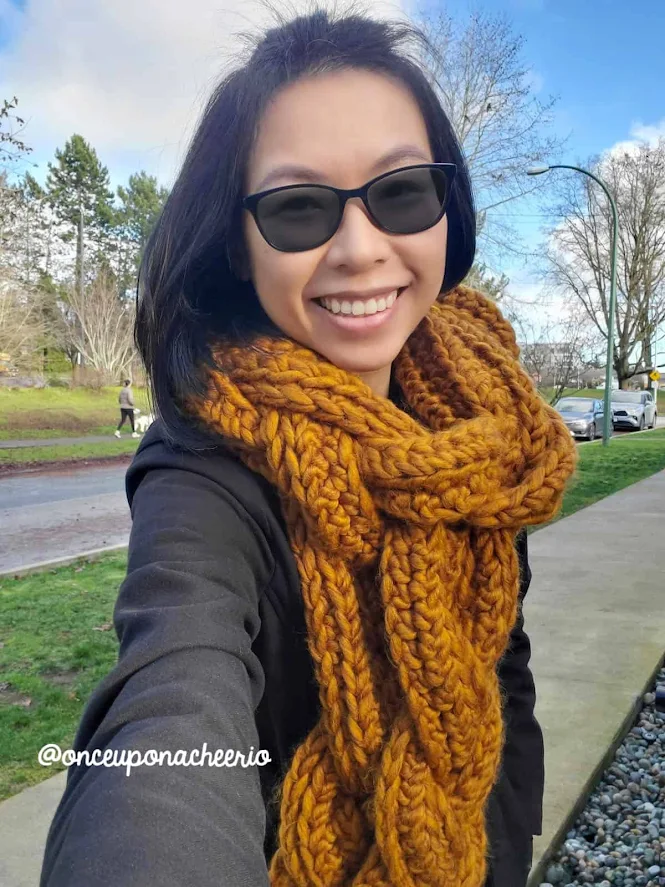
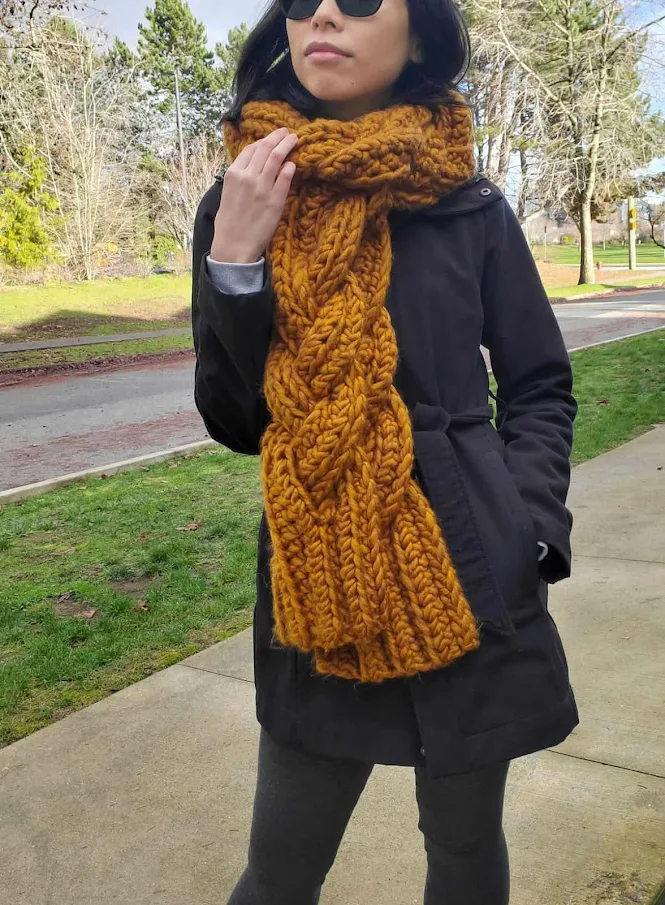
This crochet braided scarf inspired by Rapunzel's enchanting braided locks was the first original crochet pattern I've ever designed and shared on this blog. At the time, I made this Rapunzel crochet scarf using 2 strands of worsted-weight yarn worked together.
While I loved the first one I made, I always wanted it to be a bit wider and thicker. When I was asked to try out Hobbii's Udon, a brand-new yarn blend of 80% acrylic and 20% wool, I immediately knew I wanted to use it to remake my crochet scarf.

As someone who can get itchy with wool, I was pleasantly surprised that I had no issues with this yarn. The yarn is soft, warm, and very squishy!
The recommended crochet hook size is 15 mm. I ended up making this crochet scarf using a 12 mm crochet hook, but I had to modify the pattern to adapt to this super bulky yarn because if I had followed my original pattern, the scarf would have been massive.

Because the yarn is so thick, this scarf works up really quickly. I had to remake this scarf a few times to make sure I had enough yarn and the right dimensions. However, once I got all the numbers and measurements, I was able to complete this project in less than an evening.
I was initially drawn to the golden yellow of the Ochre colorway as it appears on my computer monitor screen. However, under indoor lights, it transformed into a warm mustard yellow. The yarn also has a unique mottled appearance that adds a delightful dimension to the finished piece.

The scarf is crocheted in one seamless piece and does not require any sewing. At every point that requires braiding, you'll find that the three strands are connected. The braid is created using a similar technique to braiding leather bracelets.

I've even put together a handy video tutorial demonstrating the foundation half double crochet and the mesmerizing magic braid - trying to make it as easy for you to replicate this cozy accessory.
So if you're up for a fun and whimsical project while keeping you snug and stylish, try out this chunky Rapunzel braided scarf. Stay

Remember to like Once Upon a Cheerio on Facebook. I'd also love it if you followed @onceuponacheerio on Instagram!
Don't have time to make it right this instant? Pin it for later!
Rapunzel Braided Scarf using Super Bulky Yarn
What You Need / Materials
Most of these items can be purchased through our affiliate links. Purchasing items through these links will not cost you any extra money. Please see our disclosure policy for more details.- Super Bulky (yarn weight #6) yarn shown in Hobbii's Udon (80% Acrylic, 20% Wool; 100 m / 104 yds per 200 g / 7.1 oz)
- Color A: #13 Ochre, 3 balls
- 12 mm Crochet Hook
- Yarn Needle
- Stitch Markers
- Scissors
Stitches & Abbreviations
- st/sts - stitch/stitches
- ch - chain
- hdc - half double crochet
- BLO - back loops only
- fhdc - foundation half double crochet
Notes
- Gauge: 7 hdc stitches x 4 rows = 10 cm x 10 cm (4" x 4")
- Finished Measurements:
- 210 cm (~82.6") in length
- 15 cm (~5.9") wide for the braided sections
- 22 cm (~8.6") wide for the ribbed (non-braided) sections
- Keep in mind the scarf will stretch from its own weight when worn and the measurements may change after wearing.
- There are a total of 11 sections:
- 5 braided sections
- 6 ribbed (non-braided) sections
- Most of the half-double crochets (hdc) are worked in the BACK LOOP ONLY, but I will state where to use them in the crochet pattern.
- If you're looking to make this yarn using a thinner yarn than the recommended, please check out the original Rapunzel's Braided crochet scarf pattern made using 2 strands of worsted weight yarn held together.
Crochet Scarf Pattern
Using a 12 mm crochet hook in Color A...
Row 1: Ch 150, hdc in the second chain from the hook and in each st across (149 sts)
From here on, all hdc sts are worked in back loops only.
Row 2: Ch 1, turn, hdc BLO in each st across (149 sts)
Row 3: Repeat row 2
Row 4: Ch 1, turn, hdc BLO in the next 9 sts, [19 fhdc, skip the next 19 sts, then hdc BLO in the next 9 sts] x 5 times (149 sts)
Row 5-6: Repeat row 2
Row 7: Repeat row 4
Row 8-9: Repeat row 2
Fasten off and weave in the ends.
Magic Braid Assembly
It's a bit complicated to describe how to do the magic braiding technique, but I have a short video above that shows you how to make the magic braid. Here is a picture tutorial to help clarify the process (source: unknown):

Did you make your own Braided Crochet Scarf? I'd love to see it! Please share it with me on Instagram and/or use the #onceuponacheerio hashtag.
This is an original crochet pattern written by Juli Anne of Once Upon a Cheerio. Please do not claim this crochet pattern as your own. If you wish to share this crochet pattern, you may link to this blog post, but please do not reprint it on your site. You may keep a copy for personal use, but please DO NOT sell or distribute the crochet pattern.
You may sell products made from this crochet pattern, but please clearly credit the design to me, Juli Anne of Once Upon a Cheerio and provide a link to my blog www.OnceUponaCheerio.com. Permission is NOT granted for mass production or factory manufacturing of any kind. Thank you for understanding!
You may sell products made from this crochet pattern, but please clearly credit the design to me, Juli Anne of Once Upon a Cheerio and provide a link to my blog www.OnceUponaCheerio.com. Permission is NOT granted for mass production or factory manufacturing of any kind. Thank you for understanding!


Post a Comment